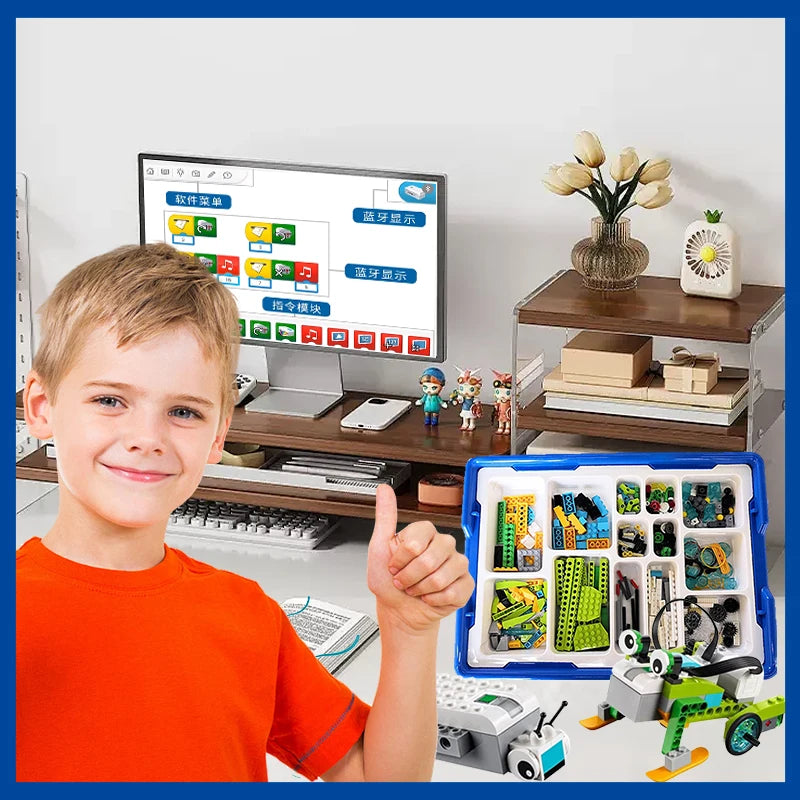
How to Organize an Educational Building Activity for Kids
Building activities using compatible bricks are not only entertaining but also highly educational. These activities help children develop critical thinking, creativity, and motor skills. If you’re a parent, teacher, or event organizer looking to host an engaging and educational building activity for kids, here’s how to do it effectively.
Benefits of Educational Building Activities
Before diving into the steps, it’s important to understand why these activities are valuable:
-
Enhances Creativity: Kids can express their ideas and explore new concepts.
-
Develops Problem-Solving Skills: They learn to think critically to achieve their desired outcome.
-
Improves Teamwork: Group activities foster collaboration and communication.
-
Strengthens Motor Skills: Handling and connecting bricks refine hand-eye coordination.
Step-by-Step Guide to Organizing the Activity
1. Define Your Objectives
Decide the goal of your activity. Are you focusing on teamwork, creativity, or a specific educational theme? For example:
-
Building a landmark to teach about architecture.
-
Designing a habitat to learn about ecosystems.
-
Creating a robot to introduce STEM concepts.
2. Gather Materials
Ensure you have enough bricks and accessories for all participants. Here’s a checklist:
-
A variety of compatible bricks (sorted by color and size for convenience).
-
Baseplates for stable constructions.
-
Specialty pieces (wheels, axles, figurines, etc.).
-
Instruction sheets or inspiration cards (optional).
3. Set Up the Space
Prepare a safe, comfortable, and organized workspace:
-
Use tables and chairs appropriate for kids.
-
Create stations for different teams or tasks.
-
Have containers or trays to sort bricks and minimize clutter.
4. Introduce the Activity
Kick things off with a short explanation of the task. Keep it engaging and simple:
-
Explain the objective and any rules (e.g., time limits, using specific pieces).
-
Demonstrate a small example to inspire participants.
-
Encourage creativity by letting kids interpret the task in their way.
5. Facilitate the Activity
During the session:
-
Offer guidance without taking control.
-
Encourage teamwork by prompting discussions and idea-sharing.
-
Solve disputes or challenges in a way that promotes learning.
6. Showcase the Results
At the end of the activity:
-
Allow each participant or team to present their creation.
-
Ask questions about their design to encourage reflection.
-
Take pictures of the builds for memory and sharing.
7. Wrap Up with Feedback and Prizes
Conclude the activity by:
-
Praising effort and creativity.
-
Giving out certificates or small prizes (optional).
-
Asking for feedback from the kids to improve future sessions.
Fun Themes for Educational Building Activities
Here are some creative themes to make your activity memorable:
-
Space Adventures: Build rockets, planets, or space stations.
-
Animal Kingdom: Create habitats for different animals.
-
Famous Landmarks: Recreate iconic structures like the Eiffel Tower or Great Wall of China.
-
Eco-Friendly Cities: Design sustainable urban landscapes.
-
Robotics and Tech: Build robots or futuristic vehicles.
Tips for Success
-
Keep It Age-Appropriate: Match the complexity of the activity to the age and skill level of the participants.
-
Encourage Collaboration: Mix kids of different skill levels to promote teamwork and learning.
-
Be Flexible: Allow participants to deviate slightly from the task if it inspires them.
Conclusion
Organizing an educational building activity for kids is a rewarding experience that combines fun with learning. By following these steps, you’ll create an environment where children can develop important skills while enjoying themselves. So gather your bricks, set up your space, and watch the creativity unfold!
